Sparse Disk Images are great when you are working either on Premiere or Avid to keep your media backed up and organized.
You can create these in Disk Utility and format them to use either Mac OS Extended or APFS file system. Personally, I have seen speed gains with an APFS formatted image. These can also be encrypted if you are travelling with a drive and don’t want your media to fall into the wrong hands. It also saves a ton of space instead of partitioning out a big Raid drive. I usually start each image at 1TB as it doesn’t take up space until you add media to the disk image. You could have 10x 1TB Images on an 8TB drive and only use the space you need up to 8TB. Below is a summary of how to create them and how I use them. From there you can implement your own workflow
CREATING:
Here are the Settings I use in Disk Utility. First go up to File and select New Blank Image. Below you will see the Image and Drive are labeled as MEDIA_001, the size is 1TB, formatted as APFS, and no encryption. For image format select sparse disk image. I have heard reports that encryption on an APFS drive does take longer than an HFS+ Format but haven’t tried this yet.
WORKFLOW:
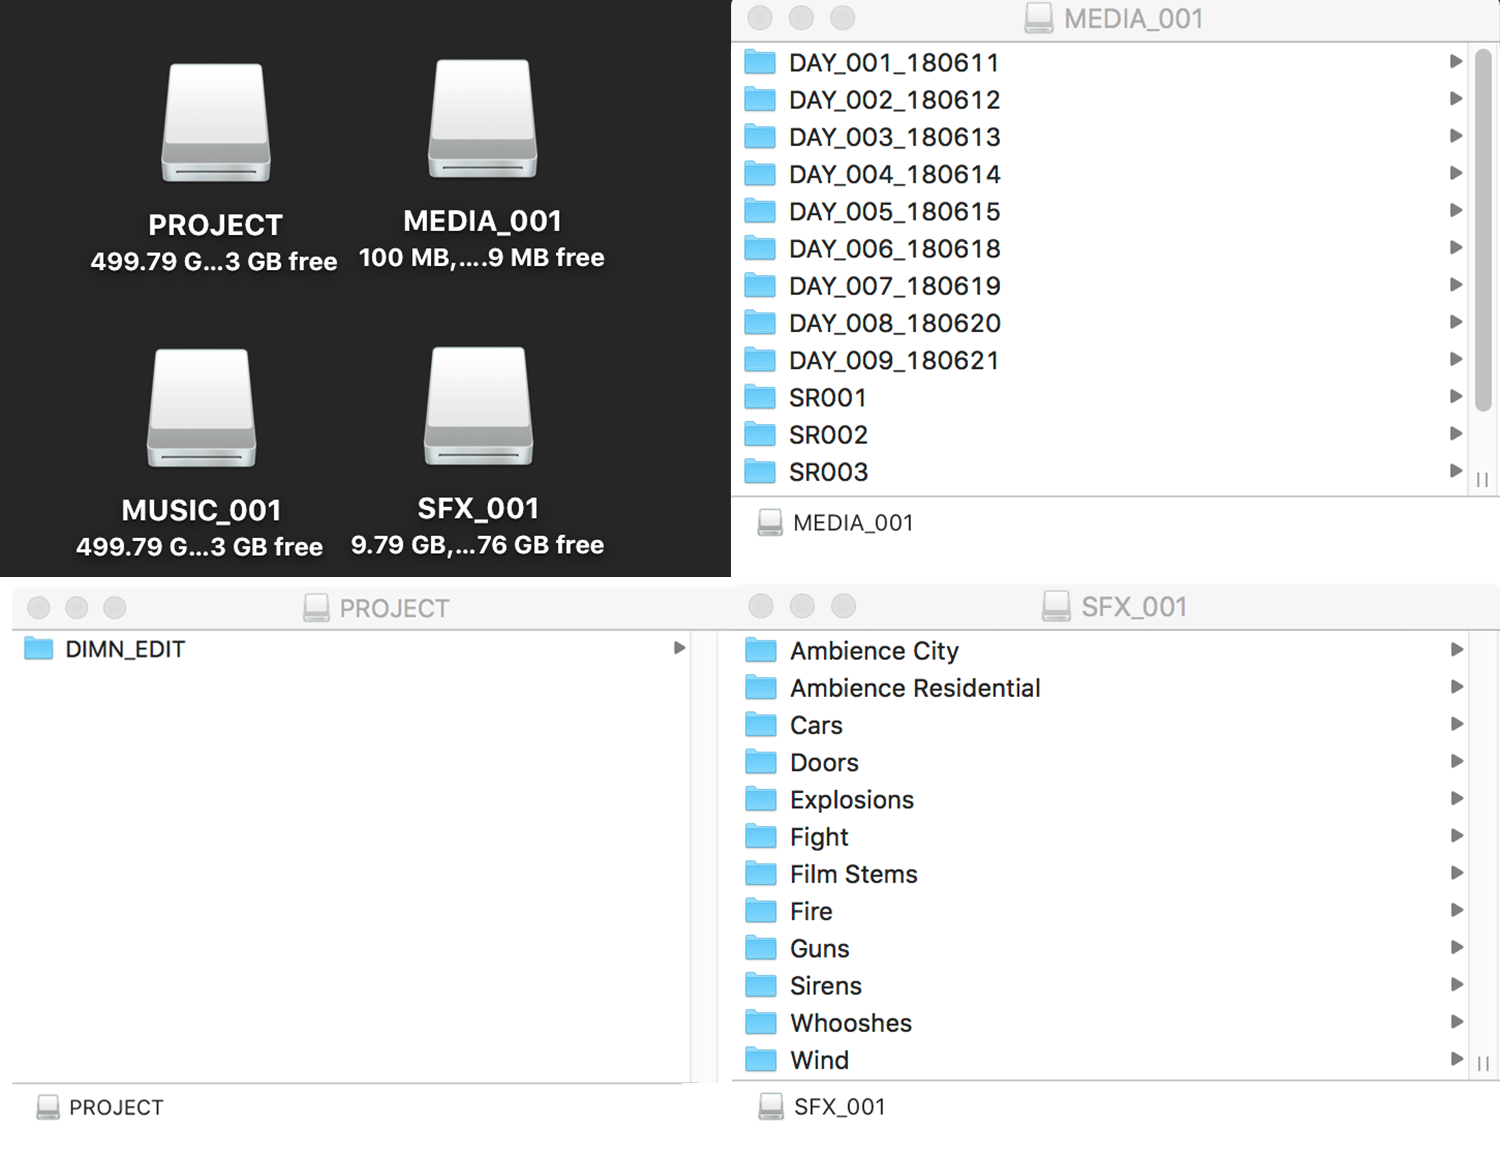
Below you can see the layout for a small project on either Premiere or Avid. My main use is to get an 8TB or 16TB raid drive and then add my sparse disk partitions and then I use Chronosync to easily scan and backup the latest media on a daily basis which is simple and automated so I don’t need to think about it.

